The Tour of Homes

>> Thursday, December 15, 2011

The neighborhoods anual Tour of Homes was this past weekend and it was fantastic (as usual).  I wanted to share a couple of my favorites.  Unfortunately they frown upon photography so here's the best I can do:


The first house was a great example of an updated cottage.  The colors were cool and cohesive - and all played off of this vivid turquoise kitchen (painted BM Stratton Blue).  (These pictures were from the April issue of Souther Living):


A few of my favorite thing:
The painted floor (the hardwoods in the rest of the home were stained)
The GE Cafe range
The modern touches (like the bar stools and the deer head)
The rustic touches in the breakfast room (the banquet and table)
The pantry with turquoise trim and shelving
and (of course) the color of the cabinets.

Other highlights from the rest of the house:  This home was originally a duplex before being renovated and combined.  The owners left the original small kitchen (cabinets, sink and fridge) and made it the laundry room and kids craft space.  At first it seemed really odd - but the room is off on its own and provided tons of extra storage.  I bet it gets used a lot.


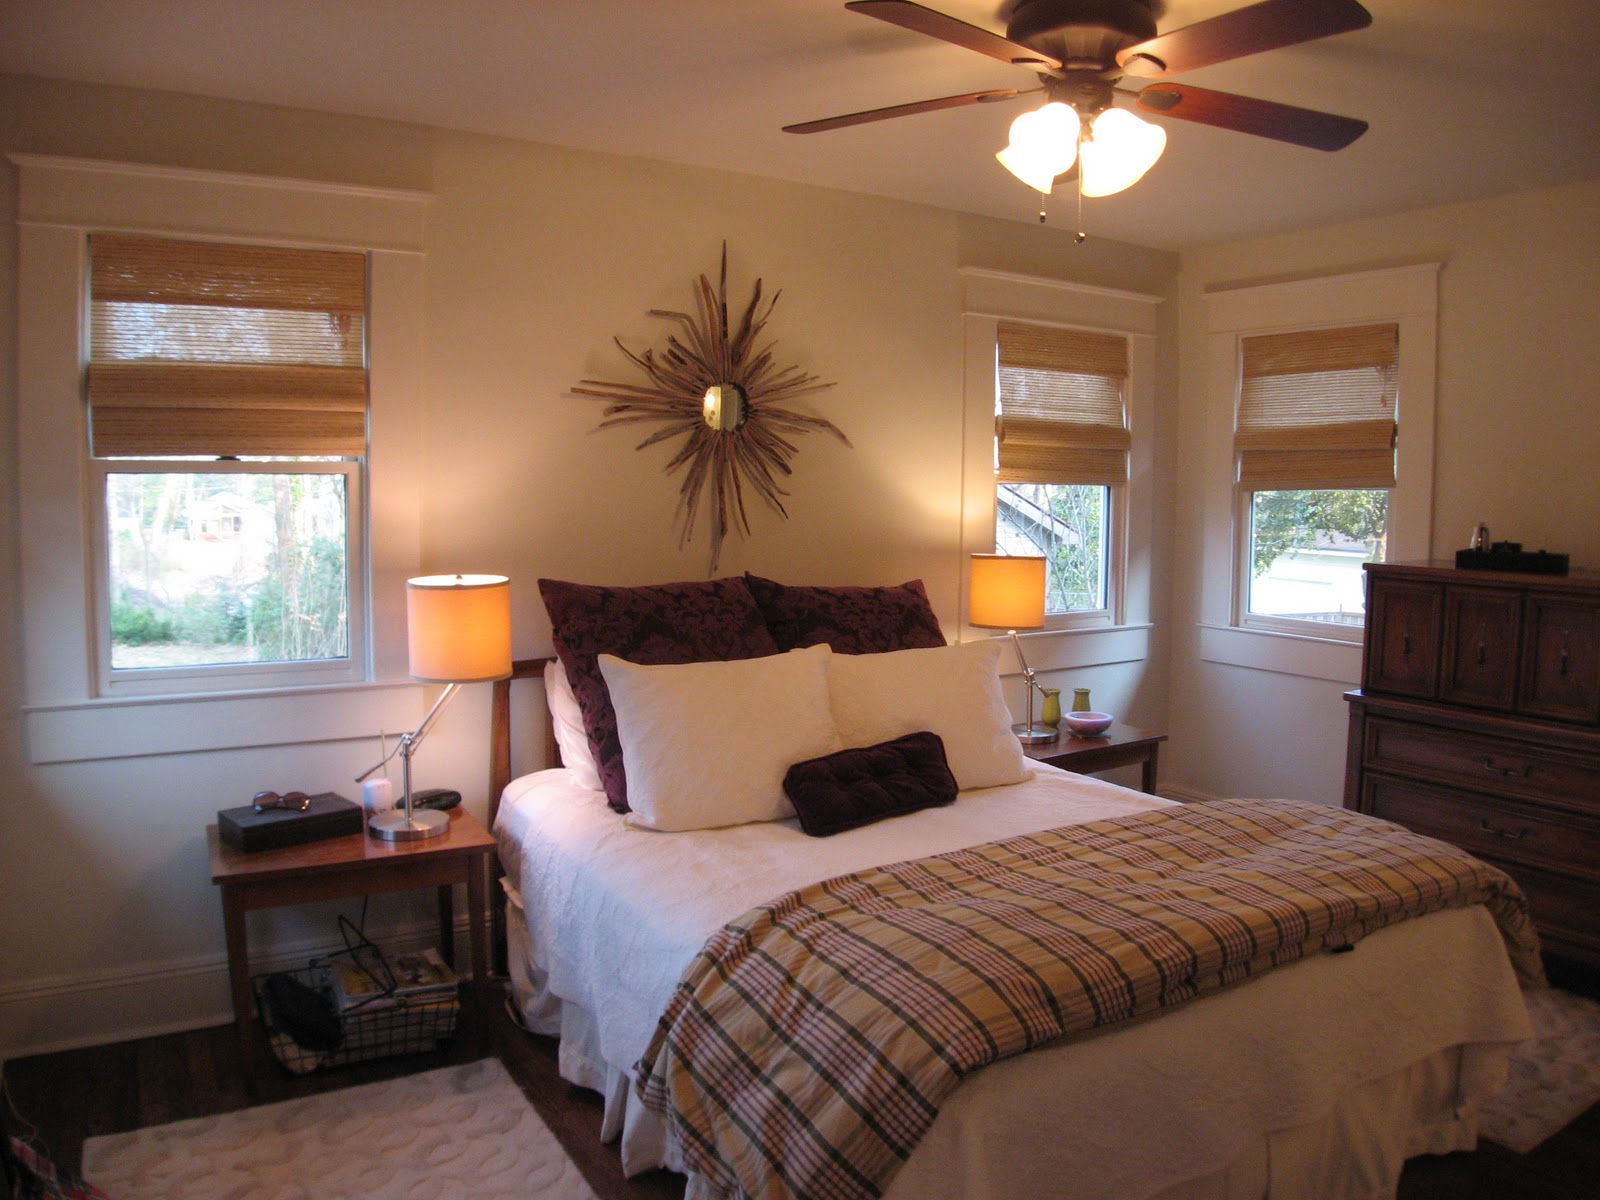
The second of my favorite houses was this awesome craftsman from the 1910's.


It was a recent renovation done by Copper Sky.  They are a local renovation company know for doing pretty authentic Craftsman renovations.  In the house they included a lot of detailed moulding and custom cabinetry but it was all painted a crisp white, keeping it light and updated.  It was a neat combination though - using reproduction light fixtures like this:


And two button switches like this:


Both from rejuvenation.com.

It was  a very neat mix.  My favorite part was the master bathroom.  It was a pretty small space but very adequate   I couldn't resist and took some pictures:


The arched shower is awesome; and the dark grout really works too in giving the room a vintage vibe.  The counters are honed carera marble and blend great with the gray accent tiles.  I would love to be able to reproduce this in the new house.  We'll see how it goes...

So that's the super brief tour.  There were so many other great details and ideas.  I can't wait to decorate! 

Read more...

In the Mean Time

>> Sunday, December 11, 2011

Well we are STILL in the (never-ending/ pull-my-hair-out) permitting process with the city for the renovation of the new house.  I think the end is in site - thank GOD.

In the mean time I thought I'd share our second house.  Funny enough it was on Second Ave.  Here's what we started with:

Before:

Wow!  That really was an ugly house.  Here's how it ended up though:

After:

The biggest changes were taking out the two trees planted in the middle of the yard, new paint, and removing the "screened porch" on the left side.  Really it was the dumpiest thing you have ever seen with this awful metal roof.  Kenny had way to much fun tearing it down.

From the front door you enter into the living room.

Before:

It has a great arched fireplace and built-in bookcases.  It also had carpet that had melted(?) to the  original hardwoods and had to be scraped off before the floors could be finished. 

After:

 The windows were replaced sometime in the 70's with aluminum.  So they got replaced with prairie style windows that match the originals throughout the rest of the house.

Next to the living room is the dining room.


Before:


It had some bad 1960's paneling that was thankfully easily to remove.  Also you'll notice the window ac unit.  We moved in in June - replacing the furnace and adding ac was the first thing on the list.

After:

The front door and arched entry are original.  I might have bought this house because of that front door.


The dining room is connected to the kitchen.

Before:

Words can not explain...

After:


Basically everything in the kitchen was replaced.  We did salvage the windows and the hardwood floors.  One thing I really try to do is keep or add character to a room.  I hate for it to feel generic.  I'd rather it feel like it has always been there and just evolved.  We tried to do that using a vinage cast iron sink and unique light fixtures.  I think mixing the countertop materials (honed, absolute black granite and butcher block) helped too.  On a side note - the butcher block is from Ikea; that entire 8 feet was around $100 - I was thrilled.

This is the part of the renovation that really got interesting and I don't even have a good before picture.

After:


We took out the wall between a bedroom and the kitchen to make an open family room.  It was SO nice to connect the two.  It makes both rooms feel bigger, and the cook doesn't feel disconnected from the party.  This was one of my favorite features of this house and why a kitchen/den combo will be a part of the next renovation.

Now back to the living room.  It also connects to a hallway where the bedrooms are:

Before:

How can a hallway be SO ugly?  With bad paneling and bad laminate hardwood floors.  Oh - and bad wallpaper.

After:


We added the arch to mimic the others around the house.  We also added the waiscotting (same process as the first house bathroom).  

There were three bedrooms.  Here's the master:

Before:


The white patches were from insulation added by the previous owners.

After:

Like the rest of the house, there were hardwoods under the carpet that just needed refinishing.  We also replaced the old windows with longer ones and replaced the trim to match the rest of the house.

The master already had a bathroom, but it was totally reconfigured.

Before:

After:


I find a double sink improved the harmony in my marriage so every master bathroom starts with how to make a double vanity fit.

The house has one other bathroom.  It's the original placement and size is from the 1920's, though the wallpaper and fixtures were probably from the 80's.

Before:

 This room was in rough shape.  Every time we removed a layer something else was rotten.  Basically we ended up taking it down to the studs. 


 That room was so much work.  We did everything except the plumbing ourselves.  Kenny removed the old tile (a physically demanding job) and I installed the new tile.  Installation isn't physically hard at all - but it does take A LOT of time and an obsessively detailed eye.  I have to say though - it's very rewarding feeling, knowing you did it yourself.

So that's the highlights of Second Ave.  For those interested: all of the walls and ceilings are painted Benjamin Moore "Halo."  The trim is a custom match to the cabinets but is pretty close to Halo in a semi-gloss finish.

Read more...

Wood Plank Ceilings

>> Friday, November 18, 2011

Well after the realization that we'll be getting a new kitchen ceiling (due to moving walls and short joists) I've been contemplating these gorgeous wood ceilings:

via primitive decor

via pinterest

via Design Chic

My most favorite of all, though, comes from For the Love of a House:

It can have a Scandinavian vibe, but I think it adds to the industrial-farmhouse look I'm trying to pull off.  

However, it's not something I'm willing to spend a fortune on.  But I figured since I'm going to have to replace the ceiling anyway, it could be worth it to get something really neat.  For a basis I'm assuming drywall professionally installed is about $1/ square foot (I hope that's a fair assumption).

  So here's the research I've found:  The most surprising thing is that you basically can't use blown insulation above a plank ceiling because the particles could, potentially, rain down through the cracks.  Spray foam was recommended a lot of places (garden web, etc.) but is expensive.  Rolled insulation was considered to be an ok solution.  It's still more than blown so that should be taken into account.

As for the wood installation: The DIY Diva installed a tongue and grove ceiling as a DIY (shocker right?).  


She used bead board and went straight onto the wood joists with only a plastic sheeting between.  

At Home Depot, pine bead board planks (1 x 6 inches and in boards 12 feet long) are $9.12 each.  That comes out to around $1.66/ square foot.

Lowes sells pine v-groove plank paneling that is 3.5 inches by 8 feet.  It's a bit thinner though (at .31 inches and it's recommend to have a solid backing behind it - aka drywall).  A package of 6 boards is $8.77 making it around $0.63/ square foot.


This looks similar to what the inspiration pictures used.  However, the fact that it has to be backed by drywall makes it 100% an extra (although no more than the bead board).  For us it looks like it would be around a $350 - $400 extra (assuming we installed it ourself).  Not too bad for such an awesome detail.

Read more...

Getting Started

>> Wednesday, November 16, 2011

We finally got to work on the new house last weekend - YAY!!


All the doors that are going to be moved were taken down (and all of the crystal door knob were removed and put into safe hiding from renovation dangers).


Then we started in on the walls that will be removed.  Thankfully we thought to check in the attic just to make sure these weren't load bearing - because they are.  One is holding up the ceiling in the kitchen and part of the back roof.  Awesome!  The back roof is coming off anyway to allow for the addition, and I guess the framers will just have to redo the kitchen ceiling too.


We did get the plaster and lathe off of these walls though.  That's the hardest part about taking out a plaster wall - the wood will be down in no time (after something is done so the ceiling doesn't fall in).


Another (not-so) awesome surprise:


Knob and tube wiring.  This is the original 1920's kind.  I think it was very progressive for the time; now it is know to burn down houses.  It cemented my suspicion that we were going to need to rewire the entire house (as opposed to just adding new lights and outlets where needed).

On a positive note though I had a really good surprise.  The attic is in pretty good condition - the ceiling is really high and there is already sub flooring.  It's not going to be finished space but it will be great storage (something there never really seems to be enough of).

All in all - a productive weekend.

Read more...

The Game Plan

>> Saturday, October 29, 2011

We've been working over this past month with Kromberg Wall architects on the design for the new house. In a lot of ways I hate this part of the process.  I did so much thinking and planning and analyzing and over analyzing the layout before we bought the house (basically in a need to determine if it was worth buying).  About a month ago I handed my hand drawn sketch to the architect for them to draw up the actual blue-prints.  And then we waited...

They brought up a lot of detail issues I hadn't even thought about.  Then a few weeks later we got the layout:


I showed to to my mom.  Her reaction: "That's it?  That's the whole house?"  Yes Mom, it is. 

 It's 1900 square feet as a reference.  The tops the front.  The unmarked rooms are the living room and dining room to the left, and two bedrooms to the right.  In the end it will have three bedrooms and three bathrooms, and most of the original layout and character aspects of the home will still be intact.  With the addition of a huge master bathroom and kitchen - woo hoo!

I can't wait to get started on the actual construction!

Read more...

Pretty Inspirational

>> Wednesday, October 19, 2011

This home was featured in Metropolitan Home Magazine back in 2009.  I loved it then and I still go back to it.  I think I'm attracted to the drama of the dark charcoal.  The texture of the drapes throughout the home is fantastic too.  It's located in Chicago and was designed by Kara Mann.  Enjoy...


Read the full article at Metropolitan Home (now part of Elle Decor).


Read more...